Thermal Bridging: Why Your R20 Wall Acts Like R10
You paid for expensive insulation, but wood studs are conducting heat right through it. We explain 'The Ghosting Effect' and how Continuous Exterior Insulation solves the problem.
The Skeleton in Your Walls: The Hidden R-Value Thief
Short Answer: You paid for expensive insulation, but wood studs are conducting heat right through it. We explain
Look at the outside of your house on a frosty morning. Do you see vertical lines where the frost has melted? Those are the studs. They are bleeding heat.
This is Thermal Bridging. It is the single biggest reason why "R-Value calculations" fail to match real-world energy bills.
In a standard "stick-built" house, 23-25% of the wall surface area is not insulation. It is wood.
- Vertical Studs (Every 16 inches)
- Top Plates (Double horizontal wood at the ceiling)
- Bottom Plates (Wood at the floor)
- Headers (Solid heavy timber over windows and doors)
- Corners (often 3-4 studs packed together for structure)
Visual Analysis: The Heat Highway
The cross-section above reveals the truth.
- Blue Zones: The fiberglass/wool insulation is doing its job, stopping heat transfer.
- Red/Orange Zones: The wooden studs act as a "Heat Highway." Wood has an R-value of only ~1.2 per inch. Fiberglass is ~3.5 per inch.
- The Result: Heat bypasses the fluff and streams directly out through the wood frame. If you have an "R-20 Wall", but 25% of it is R-6 wood, your Effective R-Value is only R-15. You paid for R-20, but you perform like R-15.
Part 1: The Ghosting Effect
Have you ever seen faint grey vertical stripes on your interior drywall? People think it's dirt. It is Ghosting.
- The stud is colder than the insulated cavity.
- The strip of drywall over the stud gets cold.
- Condensation (microscopic) forms on the cold drywall.
- Dust particles stick to the damp drywall.
- Over 5 years, permanent grey lines appear.
This proves your wall is leaking heat.
Part 2: The Solution (Continuous Insulation)
You cannot fix thermal bridging from the inside (unless you build double stud walls). You must fix it from the Outside.
Imagine wearing a down jacket (Insulation) but cutting strips out of it for your ribs (Studs). The fix isn't "better ribs." The fix is wearing a Sweater over the jacket.
Continuous Exterior Insulation (CI):
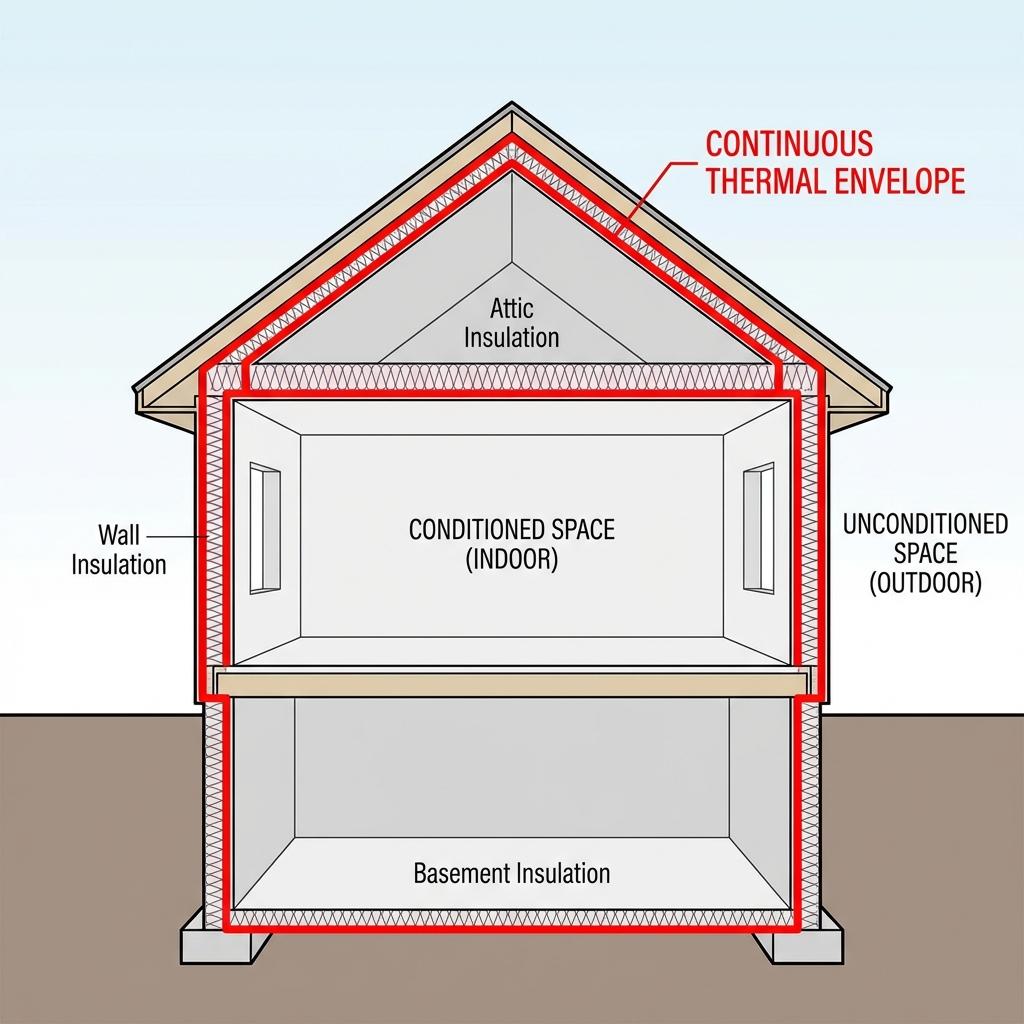
- This involves wrapping the entire house in rigid foam (EPS, XPS, or Rockwool) outside the sheathing, under the siding.
- Covering studs reduces field-of-wall bridging, while windows, fasteners, roof edges, decks, utilities, and foundations remain transitions.
- Enough exterior R-value can keep sheathing warmer, but rain, air leakage, humidity, and material drying still need control.
Use the exterior continuous-insulation retrofit guide to scope WRB, window flashing, fastening, cladding, and inspection details before siding work.
Code Changes: New Energy Codes (IECC 2021) now require CI in many climate zones. R-20 cavity + R-5 continuous is the new standard.
Part 3: Advanced Framing (The Budget Fix)
If you are building new and can't afford exterior foam, use Advanced Framing (OVE):
- 2x6 at 24" on center: Fewer studs = less bridging (and more room for insulation).
- California Corners: Instead of solid wood corners, use an "L" shape that allows insulation to reach the corner.
- Insulated Headers: Sandwich rigid foam inside the structural headers.
The Verdict
R-value on the bag of pink fluff is a lie. It describes the insulation, not the wall. If you are re-siding your house, adding 1-2 inches of rigid foam is the single most effective thermal upgrade you can make. It stops the bridging, warms the structure, and protects the framing forever.
About the Editorial Team EnergyBS reviews public program rules, product specifications, utility rates, and reader-facing cost assumptions. Treat savings figures as estimates until you verify local prices, permits, rebates, and contractor quotes.
Practical Decision Framework
Use this page as a starting point for Thermal Bridging: Why Your R-20 Wall Acts Like R-10, then verify the numbers against your own home. You paid for expensive insulation, but wood studs are conducting heat right through it. We explain 'The Ghosting Effect' and how Continuous Exterior Insulation solves the problem.
| Decision point | What to check | Why it matters |
|---|---|---|
| Current baseline | Review 12 months of utility bills, fuel use, and outage history. | Savings and resilience only make sense compared with your real starting point. |
| Local rules | Check utility tariffs, rebate deadlines, permit requirements, and eligible equipment lists. | Many projects fail financially because the quote assumed a credit or rate plan that does not apply. |
| Installation constraints | Confirm panel capacity, roof condition, ducts, ventilation, drainage, and access for service. | The hidden work often decides whether the project is affordable. |
| Comfort target | Write down the rooms, seasons, or outage scenarios you are trying to fix. | A narrower goal often leads to a cheaper and better upgrade. |
| Verification step | Ask contractors to separate equipment, labor, electrical work, permits, and incentive assumptions. | Clear line items make quotes easier to compare and reduce surprise costs. |
Reader Checklist
- Get at least two quotes when the project involves electrical, HVAC, insulation, solar, or plumbing work.
- Confirm whether incentives are point-of-sale discounts, mail-in rebates, utility credits, or tax credits.
- Keep screenshots or PDFs of program rules on the date you apply.
- Treat national savings estimates as rough examples, not promises for your address.
- If safety, wiring, refrigerants, combustion, structural work, or permits are involved, use a licensed local professional.
What To Read Next
For broader context, compare this with the EnergyBS green living guide library. It will help you check whether this topic is part of a larger efficiency, rebate, resilience, or electrification plan.
Common Questions
What should I check first before using this envelope advice?
Start with the numbers that apply to your home: climate, utility rate, equipment age, contractor quote, and local program rules. You paid for expensive insulation, but wood studs are conducting heat right through it. We explain
How should I verify rebates, tax credits, rates, or savings before spending money?
Treat program amounts, utility rates, and tax rules as date-sensitive. Check the named government, utility, or manufacturer source before you sign a contract, and keep screenshots or PDFs of eligibility rules for your records.
What is the next useful step after reading this?
Compare this with Cool Roof vs. Green Roof (2026 Guide & Data) so you can check the cost, rebate, installation, or operating-risk angle before making a decision.
Sources and Verification
Editorial Review
EnergyBS Editorial Team
EnergyBS publishes practical homeowner guides. Important program, product, and cost claims should be checked against the linked source and local project documents before you commit to work.
Related Guides
View All ArticlesCool Roof vs. Green Roof (2026 Guide & Data)
A rooffirst decision guide comparing reflective and vegetated roofs through climate, assembly, solar reflectance, thermal emittance, insulation, structural loads, drainage, fire, maintenance, and lifecycle cost.
Interior Storm Windows vs. Replacement 2026 Tool
Decide whether an interior storm panel, exterior lowe storm, repair, or full replacement best fits an existing window. Includes fit, condensation, egress, acoustic, and quote checks.
Heat Pump Sizing Guide
A homeownerfocused guide to Manual J loads, Manual S equipment selection, coldweather capacity, balance points, duct constraints, and the documents a defensible heatpump quote should include.